

Installing a chimney liner in a cluster chimney is a crucial task that requires careful planning, the right tools, and a good understanding of the process. As a supplier of cluster chimneys, I've had the opportunity to witness firsthand the importance of a well - installed chimney liner. In this blog, I'll guide you through the steps of installing a chimney liner in a cluster chimney, providing you with valuable insights and tips along the way.
Step 1: Assess the Chimney
Before you begin the installation process, it's essential to assess the condition of your cluster chimney. Check for any signs of damage, such as cracks, leaks, or blockages. A damaged chimney may require repairs before the liner can be installed. You should also measure the dimensions of the chimney flue to ensure that you select the correct size of liner.
Inspect the chimney from the top and the bottom. Look for any debris or obstructions that could interfere with the liner installation. If you find any, remove them carefully. It's also a good idea to check the chimney's draft. A poor draft can indicate problems with the chimney's structure or ventilation.
Step 2: Choose the Right Chimney Liner
There are several types of chimney liners available on the market, each with its own advantages and disadvantages. As a cluster chimney supplier, we offer a variety of options, including Stainless Steel Chimneys, Fiberglass Chimney, and Titanium Steel Composite Plate Chimney.
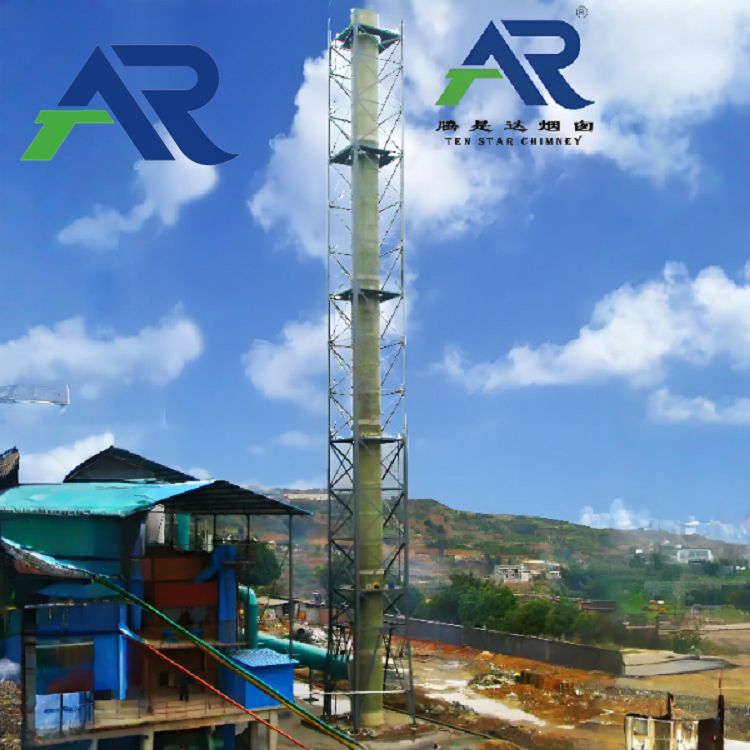

- Stainless Steel Chimneys: These liners are durable, corrosion - resistant, and can withstand high temperatures. They are a popular choice for both residential and commercial applications.
- Fiberglass Chimney: Fiberglass liners are lightweight, easy to install, and offer good insulation properties. They are suitable for chimneys with irregular shapes.
- Titanium Steel Composite Plate Chimney: This type of liner combines the strength of titanium and steel, providing excellent corrosion resistance and durability. It is often used in industrial settings.
When choosing a chimney liner, consider factors such as the type of fuel you use, the size of the chimney flue, and your budget.
Step 3: Gather the Necessary Tools and Materials
Once you've chosen the right chimney liner, it's time to gather the necessary tools and materials. You'll need:
- Measuring tape
- Safety equipment (gloves, goggles, hard hat)
- Lifting equipment (if required)
- Sealant
- Screwdriver or drill
- Duct tape
- Chimney liner support brackets
Make sure you have all the tools and materials on hand before you start the installation process. This will help ensure that the installation goes smoothly.
Step 4: Prepare the Chimney for Installation
Before installing the chimney liner, you need to prepare the chimney. Start by cleaning the chimney flue thoroughly. Remove any soot, debris, or creosote buildup. You can use a chimney brush or a vacuum cleaner to clean the flue.
Next, install the chimney liner support brackets. These brackets will hold the liner in place and prevent it from shifting. Follow the manufacturer's instructions for installing the brackets. Make sure they are securely attached to the chimney walls.
Step 5: Install the Chimney Liner
Now it's time to install the chimney liner. Start by lowering the liner into the chimney flue. If the liner is too long, you may need to cut it to the appropriate length. Use a sharp utility knife or a saw to cut the liner.
As you lower the liner, make sure it is centered in the flue. You may need to use a guide rope or a pulley system to help lower the liner smoothly. Once the liner is in place, secure it to the support brackets using screws or bolts.
Seal the joints between the liner sections using a high - temperature sealant. This will prevent any leaks or drafts. Make sure the sealant is applied evenly and that all joints are properly sealed.
Step 6: Connect the Chimney Liner to the Appliance
After installing the chimney liner, you need to connect it to the appliance. This may involve installing a chimney connector or a vent pipe. Follow the manufacturer's instructions for connecting the liner to the appliance.
Make sure the connection is secure and airtight. You can use duct tape or a metal clamp to secure the connection. Check for any leaks or gaps around the connection and seal them if necessary.
Step 7: Test the Chimney
Once the installation is complete, it's important to test the chimney to ensure that it is working properly. Start the appliance and let it run for a few minutes. Check for any signs of smoke or drafts coming from the chimney.
You can also use a chimney draft tester to check the draft. A proper draft is essential for the safe and efficient operation of the chimney. If you notice any problems, such as a poor draft or a leak, you may need to make adjustments or repairs.
Step 8: Inspect and Maintain the Chimney
Regular inspection and maintenance are essential for the longevity and safety of your chimney. Inspect the chimney liner at least once a year for any signs of damage or wear. Look for cracks, holes, or corrosion.
Clean the chimney flue regularly to remove any soot or creosote buildup. This will help prevent chimney fires and improve the efficiency of the chimney. You may also want to have the chimney professionally inspected and cleaned every few years.
Conclusion
Installing a chimney liner in a cluster chimney is a complex but rewarding task. By following these steps and using the right tools and materials, you can ensure that your chimney liner is installed correctly and safely. As a cluster chimney supplier, we are committed to providing high - quality products and excellent customer service. If you have any questions or need assistance with your chimney liner installation, please don't hesitate to contact us. We look forward to helping you with your chimney needs and discussing potential procurement opportunities.
References
- Chimney Safety Institute of America. (Year). Chimney Liner Installation Guide.
- Manufacturer's Instructions for [Chimney Liner Product Name].