
Extending a corrugated pipe chimney safely is a crucial task that requires careful planning, adherence to safety standards, and the use of appropriate materials and techniques. As a corrugated pipe chimney supplier, I have witnessed firsthand the importance of proper installation and extension to ensure the efficient and safe operation of these systems. In this blog post, I will share some valuable insights on how to extend a corrugated pipe chimney safely.
Understanding the Basics of Corrugated Pipe Chimneys
Corrugated pipe chimneys are commonly used in various applications, including residential and commercial buildings, industrial facilities, and even in some specialized equipment. These chimneys are known for their flexibility, durability, and ease of installation. The corrugated design provides strength and allows for some degree of movement, which can be beneficial in areas prone to seismic activity or where there are slight structural shifts.
Before attempting to extend a corrugated pipe chimney, it is essential to understand its basic components and how they work together. A typical corrugated pipe chimney consists of the following parts:

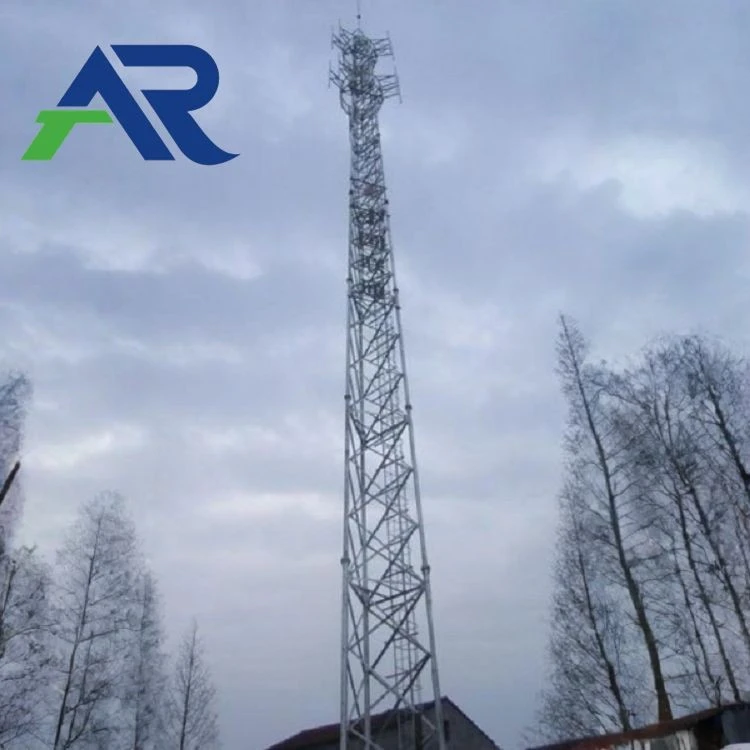
- Corrugated Pipe: This is the main body of the chimney, usually made of metal or a combination of materials. The corrugations provide structural integrity and help to prevent the pipe from collapsing under pressure.
- Flashing: Flashing is used to seal the joint between the chimney and the roof or other surfaces. It helps to prevent water from leaking into the building and protects the chimney from damage.
- Cap: The cap is placed on top of the chimney to prevent debris, animals, and rain from entering the pipe. It also helps to improve the draft and prevent backflow of exhaust gases.
- Support Brackets: Support brackets are used to secure the chimney to the building structure and prevent it from swaying or falling.
Safety First: Preparing for the Extension
Safety should always be the top priority when working on a chimney extension project. Here are some important safety measures to consider before you start:
- Inspect the Existing Chimney: Before extending the chimney, thoroughly inspect the existing structure for any signs of damage, corrosion, or blockages. Check the joints, flashing, and cap to ensure they are in good condition. If you notice any issues, address them before proceeding with the extension.
- Obtain Necessary Permits: Depending on your location and the scope of the project, you may need to obtain permits from the local building department. Make sure to check the regulations and requirements before starting the work to avoid any legal issues.
- Use Proper Safety Equipment: Wear appropriate safety gear, including a hard hat, safety glasses, gloves, and a harness if you are working on a roof. Use a stable ladder or scaffolding to access the chimney and ensure that it is properly secured.
- Follow Manufacturer's Instructions: Always follow the manufacturer's instructions for the corrugated pipe chimney and any other materials you are using. This will ensure that the extension is installed correctly and safely.
- Work with a Professional: If you are not experienced in chimney installation or extension, it is recommended to hire a professional chimney contractor. They have the knowledge, skills, and tools to complete the job safely and efficiently.
Step-by-Step Guide to Extending a Corrugated Pipe Chimney
Now that you have prepared for the project, here is a step-by-step guide to extending a corrugated pipe chimney:
- Measure and Cut the Pipe: Measure the length of the extension you need and mark the corrugated pipe accordingly. Use a hacksaw or a pipe cutter to cut the pipe to the desired length. Make sure to cut the pipe straight and smooth to ensure a proper fit.
- Prepare the Joints: Clean the ends of the existing chimney and the new pipe section to remove any dirt, debris, or rust. Apply a high-temperature sealant or gasket to the joints to create a tight seal and prevent leaks.
- Connect the Pipe Sections: Slide the new pipe section onto the existing chimney and align the joints. Use clamps or bands to secure the joints and ensure a tight fit. Make sure the pipe is straight and plumb before tightening the clamps.
- Install the Flashing and Cap: Once the pipe sections are connected, install the flashing around the joint between the chimney and the roof or other surfaces. Secure the flashing with screws or nails and seal the edges with caulk. Place the cap on top of the chimney and secure it with bolts or screws.
- Secure the Chimney: Use support brackets to secure the chimney to the building structure. Make sure the brackets are properly installed and tightened to prevent the chimney from swaying or falling.
- Test the Chimney: After the extension is complete, test the chimney to ensure it is working properly. Start a fire in the fireplace or turn on the appliance connected to the chimney and check for proper draft and exhaust. If you notice any issues, such as poor draft or smoke leakage, make the necessary adjustments.
Tips for a Successful Chimney Extension
Here are some additional tips to help you ensure a successful chimney extension project:
- Use High-Quality Materials: Invest in high-quality corrugated pipe, flashing, caps, and other materials to ensure the longevity and performance of the chimney. Cheaper materials may not be as durable or reliable, which can lead to problems down the road.
- Follow the Manufacturer's Recommendations: Different manufacturers may have specific recommendations for their products, such as the maximum length of the chimney extension or the type of sealant to use. Make sure to follow these recommendations to ensure the chimney is installed correctly.
- Consider the Draft: The draft is an important factor in the performance of a chimney. Make sure the extension does not obstruct the draft or create any backpressure. If necessary, consult with a professional chimney contractor to ensure the draft is adequate.
- Maintain the Chimney Regularly: Regular maintenance is essential to keep the chimney in good condition and prevent problems. Schedule annual inspections and cleanings to remove any creosote buildup, debris, or blockages. Check the joints, flashing, and cap for any signs of damage or wear and replace them as needed.
Conclusion
Extending a corrugated pipe chimney safely requires careful planning, attention to detail, and the use of appropriate materials and techniques. By following the safety measures and steps outlined in this blog post, you can ensure a successful chimney extension project that will provide reliable and efficient performance for years to come.
If you are in the market for high-quality corrugated pipe chimneys or need assistance with a chimney extension project, [Contact us] for more information. Our team of experts is ready to help you find the right solutions for your needs.
References
- National Fire Protection Association (NFPA). (2019). NFPA 211: Standard for Chimneys, Fireplaces, Vents, and Solid Fuel-Burning Appliances.
- International Code Council (ICC). (2021). International Residential Code (IRC).
- Chimney Safety Institute of America (CSIA). (2021). CSIA Standards and Practices.
Note: The [Contact us] part is left intentionally as you didn't want to create specific contact link or details. You can replace it with actual contact - related text as per your situation. Also, the hyperlinks are inserted as follows:
You can insert them at appropriate positions within the blog text according to their relevance. For example, if you are talking about different types of chimney - related structures, you can insert the links to give readers more information about those structures.