
Hey there! I'm a supplier of Single Sleeve Chimneys, and today I'm gonna walk you through the installation process of a single sleeve chimney in an old building. It's not as complicated as it might sound, but there are definitely some key steps you gotta follow to make sure everything goes smoothly.
1. Initial Assessment
First things first, you need to take a good look at the old building. Check out the existing chimney structure, if there is one. See if it's in good enough shape to support a new single sleeve chimney or if there are any major issues like cracks, leaks, or structural damage. You also gotta consider the building's layout, the location where you plan to install the chimney, and how it'll interact with other parts of the building, like the roof, walls, and ventilation systems.
It's a good idea to get a professional inspector involved at this stage. They can use specialized tools and techniques to assess the condition of the building and provide valuable insights. For example, they might use a thermal imaging camera to detect any hidden heat loss or moisture problems in the chimney area.
2. Choosing the Right Single Sleeve Chimney
Once you've done the assessment, it's time to pick the right Single Sleeve Chimney for your old building. There are a few factors to consider here. The size of the chimney is crucial. You need to make sure it's the right diameter and height to handle the exhaust gases from your heating system efficiently. A chimney that's too small won't be able to vent the gases properly, which can lead to poor performance and even safety hazards. On the other hand, a chimney that's too large can be a waste of money and might not work as effectively.
You also need to think about the material. Stainless steel is a popular choice for single sleeve chimneys because it's durable, corrosion-resistant, and can withstand high temperatures. You can check out our Stainless Steel Factory Chimney options for more details.
Another thing to consider is the type of single sleeve chimney. There are different designs available, depending on your specific needs. For example, some single sleeve chimneys are designed for use with specific types of heating systems, like gas or oil furnaces. Make sure you choose a chimney that's compatible with your heating system.
3. Preparing the Installation Site
Before you start installing the single sleeve chimney, you need to prepare the installation site. This involves a few important steps. First, you need to clear the area around the installation site. Remove any debris, furniture, or other obstacles that might get in the way. You also need to make sure the site is level and stable. If the surface is uneven, it can cause problems with the installation and lead to an unstable chimney.
Next, you need to cut a hole in the roof or wall where the chimney will be installed. This is a critical step, and you need to make sure the hole is the right size and shape. You can use a saw or a drill to cut the hole, but it's important to follow all the safety precautions. Wear protective gear, like goggles and gloves, and make sure you have a proper support system in place to prevent the roof or wall from collapsing.
4. Installing the Chimney Base
The chimney base is the foundation of the single sleeve chimney, and it's important to install it correctly. Start by placing the base on the prepared installation site. Make sure it's level and centered. You can use a level to check the alignment. Once the base is in place, secure it to the surface using bolts or screws. Make sure the connections are tight and secure.
After the base is installed, you need to connect it to the ventilation system of the building. This might involve attaching pipes or ducts to the base to allow the exhaust gases to flow from the heating system to the chimney. Make sure all the connections are airtight to prevent any leaks.
5. Assembling the Chimney Sections
Now it's time to assemble the chimney sections. Most single sleeve chimneys come in pre-fabricated sections that are easy to assemble. Start by placing the first section on top of the chimney base. Make sure it's properly aligned and secured. You can use clamps or brackets to hold the sections together.
As you assemble the chimney sections, make sure you follow the manufacturer's instructions carefully. Some chimneys might require special tools or techniques for assembly. You also need to make sure the joints between the sections are sealed properly to prevent any leaks. You can use a high-temperature sealant to seal the joints.
6. Installing the Chimney on the Building
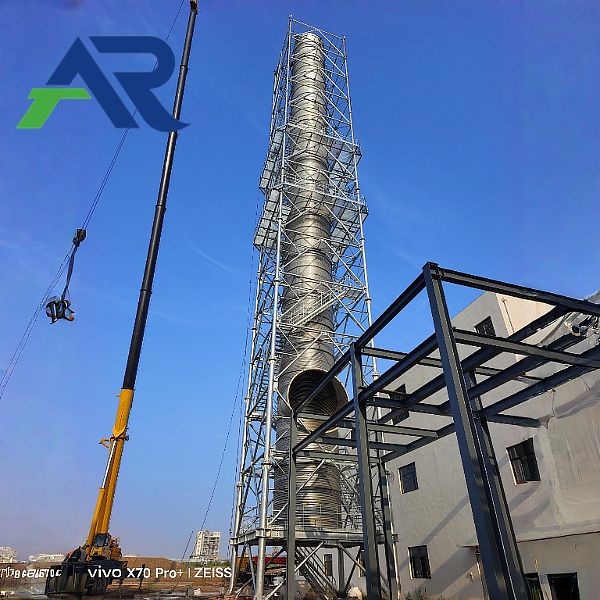
Once the chimney sections are assembled, it's time to install the chimney on the building. This might involve lifting the chimney into place using a crane or other lifting equipment. Make sure the chimney is positioned correctly and aligned with the ventilation system. You can use ropes or cables to guide the chimney into place.
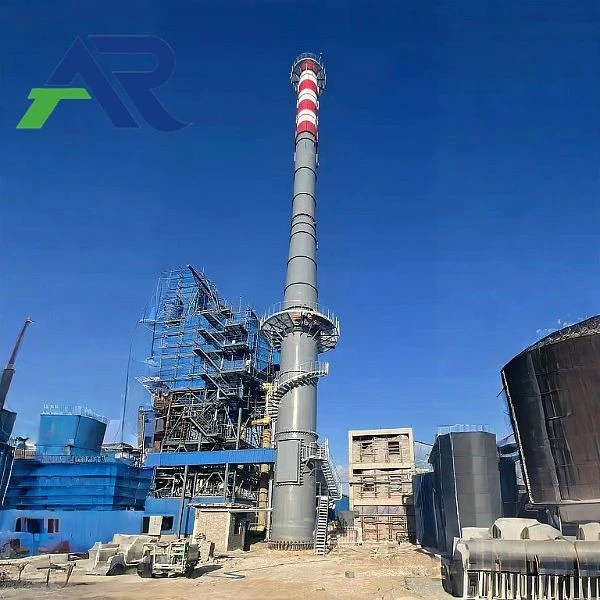
After the chimney is in place, secure it to the building using brackets or straps. Make sure the connections are strong and secure. You also need to make sure the chimney is stable and won't sway or move in the wind.
7. Testing and Inspection
After the chimney is installed, it's important to test it to make sure it's working properly. Start by turning on the heating system and checking for any signs of smoke or exhaust gases leaking from the chimney. You can also use a smoke pen or a smoke machine to test the airflow in the chimney.
Once you've tested the chimney, it's a good idea to have it inspected by a professional. They can check for any structural issues, leaks, or other problems. They can also make sure the chimney meets all the local building codes and safety regulations.
8. Maintenance and Care
Once the single sleeve chimney is installed and working properly, you need to take good care of it to ensure its long-term performance. Regular maintenance is key. You should inspect the chimney regularly for any signs of damage, like cracks, leaks, or corrosion. You also need to clean the chimney periodically to remove any soot or debris that might accumulate inside.
If you notice any problems with the chimney, it's important to address them right away. Don't wait until it's too late. A small problem can quickly turn into a big one if it's not fixed in a timely manner.
Well, that's basically the installation process of a single sleeve chimney in an old building. It might seem like a lot of work, but if you follow these steps and take your time, you should be able to get the job done successfully.
If you're interested in purchasing a Single Sleeve Chimney for your old building or have any questions about the installation process, feel free to reach out. We're here to help you every step of the way. And if you're considering other types of chimneys, you might also want to check out our Multi-sleeve Chimney options.
References
- National Fire Protection Association. (2023). NFPA 211: Standard for Chimneys, Fireplaces, Vents, and Solid-Fuel-Burning Appliances.
- International Code Council. (2023). International Residential Code.
- Chimney Safety Institute of America. (2023). Chimney Maintenance and Inspection Guidelines.