

Hey there! As a supplier of Steel Corrugated Culverts, I'm here to walk you through the installation steps of these nifty structures. Steel Corrugated Culverts, as you can learn more about here, are a popular choice for various applications due to their durability, flexibility, and cost - effectiveness.
Step 1: Site Preparation
The first and most crucial step is site preparation. You gotta make sure the site is ready to receive the culvert. First off, clear the area of any debris, vegetation, or large rocks. This ensures a clean and stable base for the installation.
Next, you need to dig the trench. The depth and width of the trench depend on the size and type of the culvert you're using. Generally, the trench should be deep enough to provide proper cover over the culvert and wide enough to allow for easy placement. You'll also want to make sure the trench has a consistent slope to ensure proper water flow. A good rule of thumb is to have a slope of at least 0.5% to 1% for efficient drainage.
Once the trench is dug, compact the soil at the bottom. You can use a plate compactor or a vibrating roller for this. Proper compaction is essential as it prevents the culvert from settling unevenly over time, which could lead to structural damage.
Step 2: Culvert Assembly
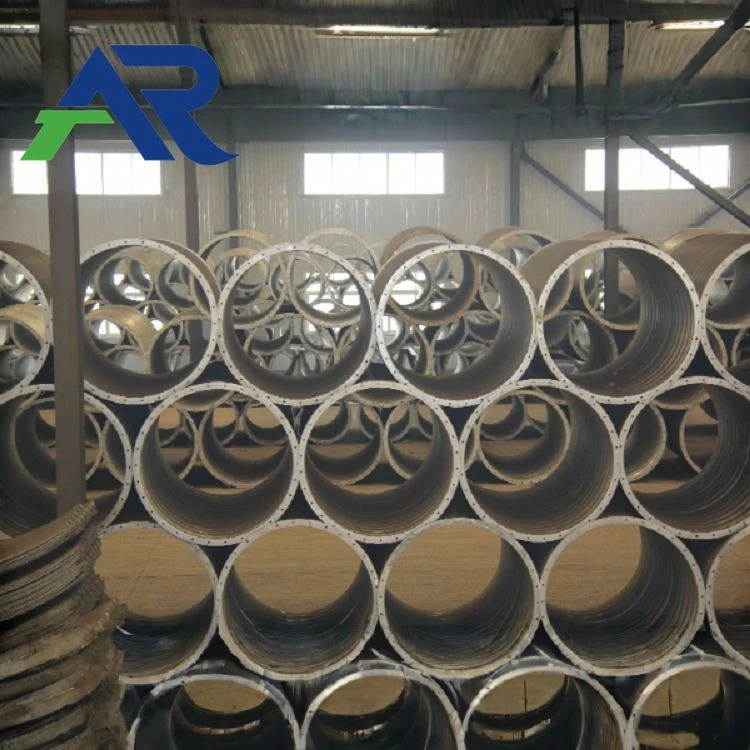
Now that the site is ready, it's time to assemble the Steel Corrugated Culvert. Most of these culverts come in sections, which makes transportation and installation a whole lot easier. Start by laying out the sections in the trench in the correct order. Make sure the corrugations of adjacent sections align properly.
To connect the sections, you'll typically use bolts or rivets. Insert the bolts through the pre - drilled holes in the overlapping sections and tighten them securely. Don't overtighten, though, as this could damage the culvert. It's a good idea to have a torque wrench on hand to ensure the bolts are tightened to the manufacturer's specifications.
If you're installing a circular culvert, you may need to use a special tool to shape the sections into a circular form. This can be a bit tricky, so it's important to follow the manufacturer's instructions carefully. Some culverts also come with gaskets to provide a watertight seal between the sections. Make sure to install these gaskets correctly to prevent leaks.
Step 3: Placement in the Trench
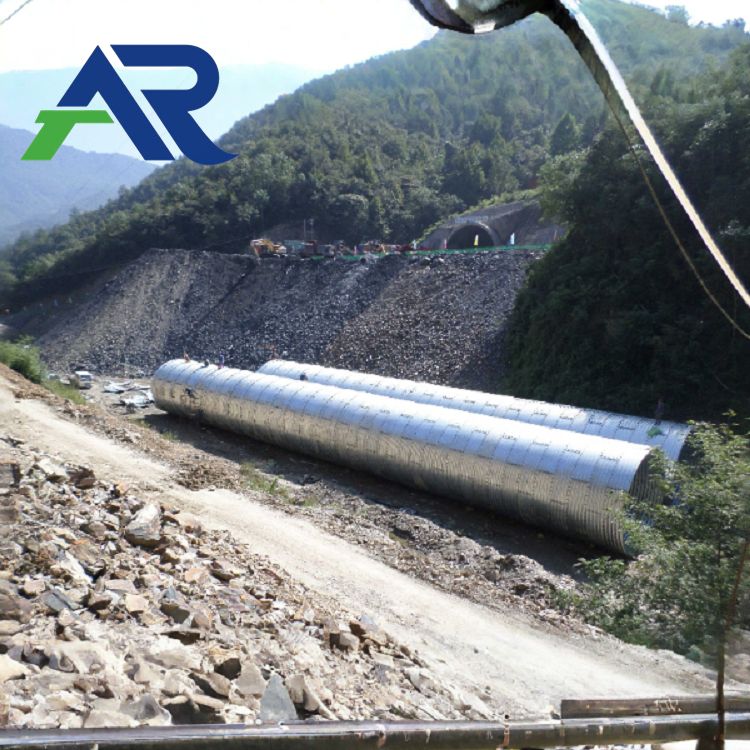
After the culvert is assembled, it's time to place it in the trench. You can use a crane or a forklift to lift the culvert and lower it gently into the trench. Make sure the culvert is centered in the trench and aligned with the slope.
Once the culvert is in place, check its alignment again. You can use a level and a measuring tape to ensure that the culvert is straight and at the correct elevation. If necessary, make any adjustments by adding or removing soil from under the culvert.
Step 4: Backfilling
Backfilling is an important step that helps support the culvert and protect it from damage. Start by placing a layer of granular material, such as sand or gravel, around the culvert. This layer should be at least 6 inches thick and should cover the sides and bottom of the culvert.
The granular material helps distribute the load evenly and provides some flexibility, which is important as the soil around the culvert may settle over time. After placing the granular layer, start backfilling the trench with soil. Make sure to compact the soil in layers, typically 6 - 12 inches thick. You can use a hand tamper or a plate compactor for this.
Avoid using large rocks or clumps of soil during backfilling, as these can cause damage to the culvert. Also, make sure to backfill the trench symmetrically on both sides of the culvert to prevent it from shifting.
Step 5: Outlet and Inlet Installation
The next step is to install the outlet and inlet structures. These structures help control the flow of water in and out of the culvert and prevent erosion. The outlet and inlet can be made of concrete, steel, or other materials.
For a concrete outlet or inlet, you'll need to pour the concrete around the ends of the culvert. Make sure to form the concrete properly to create a smooth transition between the culvert and the surrounding environment. If you're using a steel outlet or inlet, you can bolt it directly to the ends of the culvert.
Step 6: Final Inspection
Once the installation is complete, it's time for a final inspection. Check the culvert for any signs of damage, such as dents, cracks, or leaks. Make sure the bolts are tightened properly and the gaskets are in place.
Inspect the backfill to ensure that it's properly compacted and there are no voids. Also, check the outlet and inlet structures to make sure they're functioning correctly. If you find any issues, address them immediately before the culvert is put into use.
Other Related Products
We also offer Corrugated Pipe for Coal Mine Corridor, which is designed to meet the specific needs of coal mine applications. These pipes are made of high - quality steel and are resistant to corrosion and abrasion.
Another great product we have is the Bridge Culvert Steel Corrugated Culvert. This type of culvert is suitable for bridge applications and provides a strong and reliable solution for water flow and load - bearing.
Contact Us for Procurement
If you're interested in purchasing Steel Corrugated Culverts or any of our related products, don't hesitate to get in touch with us. We're here to answer any questions you may have and help you with your procurement needs. Whether you're a contractor, a government agency, or a private individual, we can provide you with the right culvert solution for your project.
References
- Manufacturer's installation guides for Steel Corrugated Culverts
- Engineering standards for culvert installation
- Local building codes and regulations related to culvert installation