

Hey there! I'm a supplier of Multi-sleeve Chimneys, and I've been in the business for quite a while. Today, I'm gonna share with you how to install a multi-sleeve chimney in a historical building. It's a bit of a tricky task, but with the right know-how, it can be done smoothly.
Why Choose a Multi-sleeve Chimney?
First off, let's talk about why a multi-sleeve chimney might be a great choice for a historical building. A Multi-sleeve Chimney offers several advantages. It can handle multiple flues in one structure, which is super useful if you have different heating systems or appliances that need to vent. This means you can keep the historical integrity of the building intact while still having a functional and efficient chimney system.
Compared to a Single Sleeve Chimney, a multi-sleeve chimney provides more flexibility. You can have different types of fuels being used in different appliances, and each can have its own dedicated sleeve for venting. It also helps in reducing the overall space occupied by the chimney, which is often a concern in historical buildings where space is limited.
Pre-installation Considerations
Before you start the installation process, there are a few things you need to consider.
Building Inspection
You gotta get a thorough inspection of the historical building. This includes checking the structural integrity of the building, especially around the area where the chimney will be installed. You need to make sure that the building can support the weight of the multi-sleeve chimney. Look for any signs of damage or weakness in the walls, floors, or roof. If there are any issues, you might need to reinforce the structure before proceeding with the installation.
Local Regulations
Historical buildings are often subject to strict local regulations. You need to check with the local authorities to see what permits and approvals you need. There might be specific guidelines regarding the type of chimney you can install, the materials you can use, and the impact on the historical appearance of the building. Make sure you follow all these regulations to avoid any legal issues later on.
Compatibility with Existing Systems
If the historical building already has an existing chimney or heating system, you need to ensure that the new multi-sleeve chimney is compatible. You might need to make some modifications to the existing system to connect it to the new chimney. This could involve adjusting the flue sizes, installing adapters, or even replacing some parts of the old system.
Installation Steps
Step 1: Planning and Design
The first step in the installation process is to come up with a detailed plan and design. You need to determine the exact location where the multi-sleeve chimney will be installed. Consider factors like the proximity to the appliances that will be vented, the structural support available, and the impact on the historical appearance of the building.
Draw a detailed diagram of the chimney, including the dimensions of each sleeve, the height of the chimney, and the location of any access points or cleanout doors. This will help you during the installation process and ensure that everything is installed correctly.
Step 2: Preparing the Installation Site
Once you have the plan in place, it's time to prepare the installation site. This involves clearing the area around the installation location. Remove any debris, furniture, or other obstacles that might get in the way.
If you're installing the chimney through the roof, you need to make an opening in the roof. Make sure you do this carefully to avoid damaging the roof structure. You might need to use a saw or other cutting tools to make the opening.
Step 3: Assembling the Multi-sleeve Chimney
Now it's time to assemble the multi-sleeve chimney. Start by laying out all the components on a flat surface. Make sure you have all the necessary parts, including the sleeves, connectors, support brackets, and insulation.
Follow the manufacturer's instructions to assemble the chimney. Usually, you'll start by connecting the sleeves together using the appropriate connectors. Make sure the connections are tight and secure to prevent any leaks.
Step 4: Installing the Chimney
Once the chimney is assembled, it's time to install it. If you're installing it through the roof, carefully lift the chimney into place and lower it through the opening. Make sure the chimney is centered and level.
Use the support brackets to secure the chimney to the building structure. Make sure the brackets are properly attached and provide sufficient support for the chimney.
If you're installing the chimney through a wall, you'll need to make an opening in the wall and then insert the chimney. Again, make sure the chimney is level and secure.
Step 5: Connecting the Flues
After the chimney is installed, it's time to connect the flues from the appliances to the multi-sleeve chimney. Make sure you use the appropriate connectors and gaskets to ensure a tight seal.

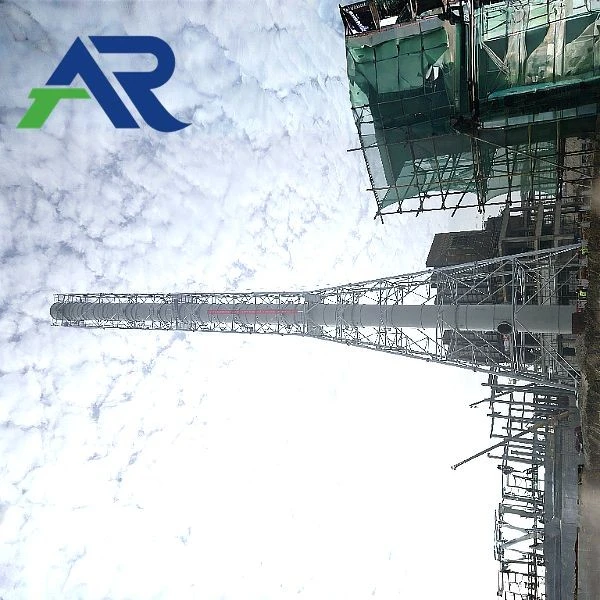
Check the flue sizes to make sure they match the sizes of the sleeves in the chimney. If necessary, you might need to use adapters to make the connection.
Step 6: Insulating the Chimney
Insulation is an important part of the installation process. It helps to keep the heat inside the chimney and prevent heat loss. It also helps to reduce the risk of condensation and corrosion inside the chimney.
Use high-quality insulation materials to insulate the chimney. Make sure you cover all the sleeves and the outer surface of the chimney. Follow the manufacturer's instructions for the proper installation of the insulation.
Step 7: Testing and Commissioning
Once the installation is complete, it's time to test the chimney. Start by lighting the appliances and checking the draft. Make sure the smoke is flowing properly through the chimney and there are no signs of backdraft.
Check for any leaks or other issues. Look for any signs of smoke or fumes escaping from the chimney or the connections. If you find any problems, you need to fix them before using the chimney.
Post-installation Maintenance
After the multi-sleeve chimney is installed, you need to perform regular maintenance to keep it in good working condition.
Cleaning
Regularly clean the chimney to remove any soot, debris, or creosote buildup. This will help to prevent blockages and reduce the risk of chimney fires. You can use a chimney brush or other cleaning tools to clean the inside of the sleeves.
Inspection
Periodically inspect the chimney for any signs of damage or wear. Check the connections, the support brackets, and the insulation. Look for any cracks, leaks, or other issues. If you find any problems, you need to address them immediately.
Conclusion
Installing a multi-sleeve chimney in a historical building is a challenging but rewarding task. It allows you to maintain the historical integrity of the building while providing a functional and efficient chimney system. By following the steps outlined above and considering all the pre-installation factors, you can ensure a successful installation.
If you're interested in purchasing a Multi-sleeve Chimney or have any questions about the installation process, feel free to reach out. We're here to help you with all your chimney needs.
References
- "Chimney Installation Handbook" - A comprehensive guide on chimney installation techniques.
- Local building codes and regulations regarding historical buildings.
- Manufacturer's instructions for the multi-sleeve chimney.