
How to Connect a Free Standing Chimney to a Heater
As a supplier of free standing chimneys, I've encountered numerous inquiries regarding the proper connection of these chimneys to heaters. It's a crucial process that requires careful planning, understanding of the components, and adherence to safety standards. In this blog post, I'll guide you through the steps of connecting a free standing chimney to a heater, discuss the different types of free standing chimneys available, and provide some essential tips to ensure a successful installation.
Understanding the Basics
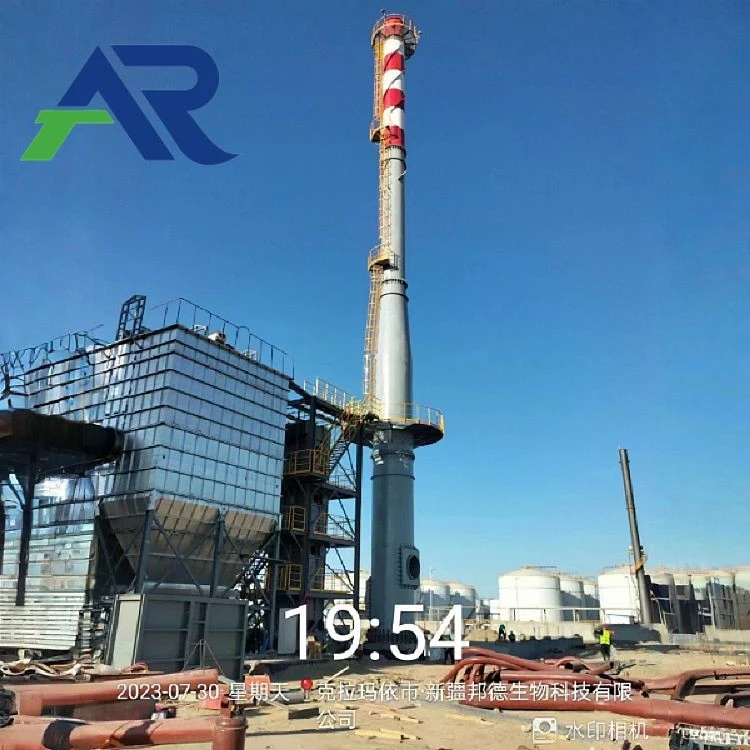
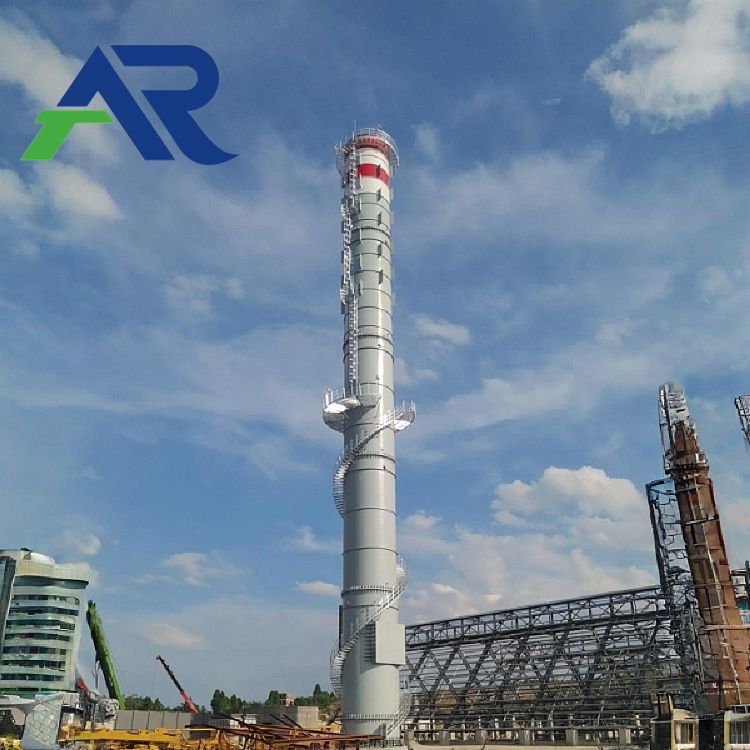
Before we delve into the connection process, it's important to understand the basic components involved. A free standing chimney typically consists of chimney sections, a base, a flashing, and a cap. The heater, on the other hand, has a flue outlet where the chimney will be connected. The goal is to create a secure and airtight connection between the heater and the chimney to ensure proper ventilation and prevent the leakage of harmful gases.
Types of Free Standing Chimneys
There are several types of free standing chimneys available in the market, each with its own unique features and benefits. As a supplier, I offer a range of options to meet the diverse needs of my customers.
- Multi-sleeve Chimney: The Multi-sleeve Chimney is designed to provide enhanced insulation and efficiency. It consists of multiple layers of insulation, which helps to reduce heat loss and improve the overall performance of the chimney. This type of chimney is ideal for high-temperature applications and is often used in industrial settings.
- Single Sleeve Chimney: The Single Sleeve Chimney is a more economical option that is suitable for smaller heaters and residential applications. It consists of a single layer of insulation and is relatively easy to install. While it may not offer the same level of insulation as a multi-sleeve chimney, it still provides adequate ventilation and safety.
- Stainless Steel Factory Chimney: The Stainless Steel Factory Chimney is a durable and corrosion-resistant option that is commonly used in industrial and commercial settings. It is made from high-quality stainless steel, which provides excellent resistance to heat, chemicals, and weather conditions. This type of chimney is also easy to clean and maintain, making it a popular choice for many customers.
Steps to Connect a Free Standing Chimney to a Heater
Now that you have a better understanding of the different types of free standing chimneys available, let's take a look at the steps involved in connecting a free standing chimney to a heater.
- Choose the Right Location: The first step is to choose the right location for your chimney. It should be placed in a well-ventilated area away from any flammable materials or obstructions. The chimney should also be installed on a stable and level surface to ensure its stability.
- Prepare the Heater: Before connecting the chimney, you need to prepare the heater. This involves removing the existing flue pipe or cap from the heater and cleaning the flue outlet. Make sure the flue outlet is free from any debris or blockages.
- Install the Base: The next step is to install the base of the chimney. The base provides a stable foundation for the chimney and helps to prevent it from tipping over. Follow the manufacturer's instructions carefully to ensure the base is installed correctly.
- Assemble the Chimney Sections: Once the base is installed, you can start assembling the chimney sections. Make sure to use the appropriate connectors and gaskets to ensure a secure and airtight connection between the sections. Follow the manufacturer's instructions carefully to ensure the chimney is assembled correctly.
- Connect the Chimney to the Heater: After the chimney is assembled, you can connect it to the heater. This involves aligning the flue outlet of the heater with the bottom of the chimney and using a suitable connector to secure the connection. Make sure the connection is tight and airtight to prevent the leakage of harmful gases.
- Install the Flashing: The flashing is used to seal the gap between the chimney and the roof or wall. It helps to prevent water from leaking into the building and also provides additional support for the chimney. Follow the manufacturer's instructions carefully to ensure the flashing is installed correctly.
- Install the Cap: The final step is to install the cap on the top of the chimney. The cap helps to prevent rain, snow, and debris from entering the chimney and also provides additional ventilation. Make sure the cap is installed securely and is the appropriate size for your chimney.
Tips for a Successful Installation
Here are some essential tips to ensure a successful installation of your free standing chimney:
- Read the Manufacturer's Instructions: Before starting the installation process, make sure to read the manufacturer's instructions carefully. This will help you understand the specific requirements and guidelines for your chimney and heater.
- Use the Right Tools and Materials: Make sure to use the appropriate tools and materials for the installation. This includes the correct connectors, gaskets, and fasteners. Using the wrong tools or materials can result in a poor installation and may compromise the safety and performance of your chimney.
- Follow Safety Standards: Always follow the relevant safety standards and regulations when installing your chimney. This includes ensuring proper ventilation, using the correct insulation, and installing the chimney at the correct height.
- Get Professional Help: If you're not confident in your ability to install the chimney yourself, it's always a good idea to get professional help. A qualified installer will have the necessary skills and experience to ensure the chimney is installed correctly and safely.
Conclusion
Connecting a free standing chimney to a heater is a relatively straightforward process that can be completed with the right tools, materials, and knowledge. By following the steps outlined in this blog post and using the tips provided, you can ensure a successful installation of your chimney and enjoy the benefits of a safe and efficient heating system.
If you're interested in purchasing a free standing chimney or have any questions about the installation process, please don't hesitate to contact me. I'm here to help you find the right solution for your needs and ensure a smooth and hassle-free installation.
References
- Manufacturer's instructions for free standing chimneys and heaters
- National Fire Protection Association (NFPA) codes and standards
- Local building codes and regulations