

As a lighting pole supplier, ensuring the electrical safety of our products is of utmost importance. Lighting poles are commonly used in various settings, including streets, parking lots, and public areas, where the safety of the public and the proper functioning of the lighting system rely on effective electrical safety testing. In this blog post, I will share the key steps and methods to test the electrical safety of a lighting pole.
Understanding the Basics of Electrical Safety in Lighting Poles
Before diving into the testing process, it's essential to understand the potential electrical hazards associated with lighting poles. These hazards can include electrical shock, short circuits, and overheating, which can not only damage the lighting equipment but also pose a significant risk to people and property.
The electrical system of a lighting pole typically consists of a power source, wiring, fixtures, and grounding components. Each part plays a crucial role in maintaining electrical safety. For example, proper grounding helps to divert electrical faults safely into the ground, preventing electrical shock and reducing the risk of fire.
Pre - Test Preparations
Visual Inspection
The first step in testing the electrical safety of a lighting pole is a thorough visual inspection. This inspection should cover the entire lighting pole system, including the pole itself, the wiring, and the lighting fixtures.
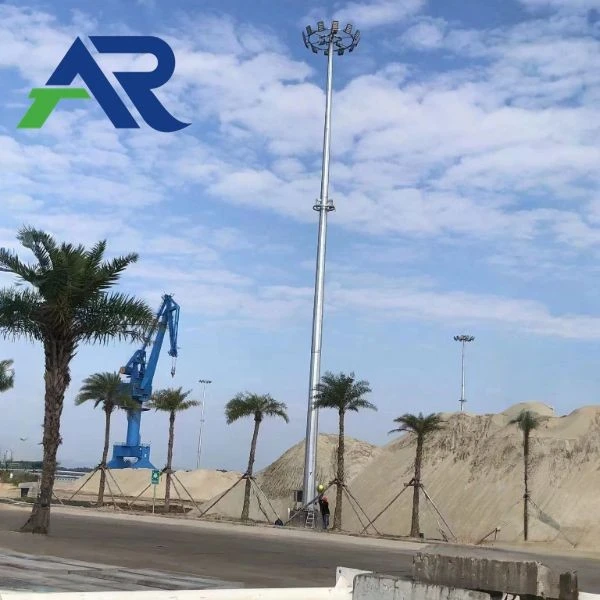
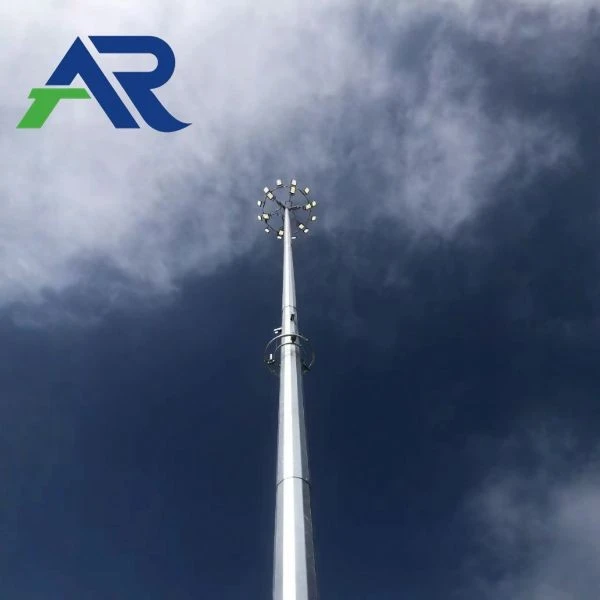
- Pole Condition: Check for any signs of physical damage to the pole, such as cracks, dents, or corrosion. These issues can compromise the structural integrity of the pole and may also affect the electrical components inside.
- Wiring: Examine the wiring for any signs of fraying, insulation damage, or loose connections. Damaged wiring can lead to short circuits and electrical shock hazards.
- Lighting Fixtures: Inspect the fixtures for proper installation and any signs of damage. Make sure that the bulbs are securely seated and that the fixture housing is intact.
Documentation Review
Review all relevant documentation related to the lighting pole, including installation manuals, electrical diagrams, and maintenance records. This information can provide valuable insights into the design and installation of the electrical system, as well as any previous maintenance or repair work that has been done.
Testing Procedures
Insulation Resistance Testing
Insulation resistance testing is a crucial step in assessing the integrity of the electrical insulation in the lighting pole's wiring. This test measures the resistance between the conductors and the ground or between different conductors.
- Testing Equipment: Use a megohmmeter, also known as a megger, to perform the insulation resistance test. A megger applies a high - voltage DC signal to the circuit and measures the resulting current to calculate the insulation resistance.
- Test Procedure:
- Isolate the lighting pole from the power source to ensure safety.
- Connect the megger leads to the appropriate conductors. For example, if testing the insulation between a live wire and the ground, connect one lead to the live wire and the other to the grounding point.
- Apply the test voltage for a specified period (usually 60 seconds) and record the insulation resistance value.
- Acceptable Values: The acceptable insulation resistance value depends on the type of wiring and the application. Generally, a high insulation resistance value (in the range of megohms) indicates good insulation, while a low value may indicate insulation damage.
Grounding Resistance Testing
Proper grounding is essential for electrical safety in lighting poles. Grounding resistance testing measures the resistance of the grounding system to ensure that it can effectively dissipate electrical faults.
- Testing Equipment: A grounding resistance tester is used to perform this test. There are different types of grounding resistance testers, such as the three - point method tester and the clamp - on tester.
- Test Procedure:
- For the three - point method, drive two auxiliary grounding rods into the ground at a specified distance from the lighting pole's grounding electrode. Connect the tester to the grounding electrode and the auxiliary rods.
- The clamp - on tester can be used without the need for auxiliary grounding rods. It clamps around the grounding conductor to measure the resistance.
- Acceptable Values: The grounding resistance should be within the acceptable range specified by local electrical codes, typically less than 25 ohms for most applications.
Continuity Testing
Continuity testing is used to check if there is a complete electrical path between two points in the circuit. This test is important for ensuring that the wiring is properly connected and that there are no breaks in the circuit.
- Testing Equipment: A continuity tester, which can be a simple multimeter set to the continuity mode, is used for this test.
- Test Procedure:
- Disconnect the power source from the lighting pole.
- Connect the tester leads to the two points in the circuit that you want to test. If there is continuity, the tester will emit a beep or show a low resistance value.
Leakage Current Testing
Leakage current testing measures the amount of current that flows through the insulation or the grounding system under normal operating conditions. Excessive leakage current can indicate insulation damage or improper grounding.
- Testing Equipment: A leakage current meter is used to measure the leakage current.
- Test Procedure:
- Connect the leakage current meter in series with the grounding conductor or across the insulation to measure the current.
- The lighting pole should be powered on during this test, but all safety precautions should be taken.
Testing Frequency and Maintenance
Regular testing of the electrical safety of lighting poles is essential to ensure ongoing safety. The testing frequency depends on various factors, such as the location of the lighting pole, the environment, and the age of the equipment.
- New Installations: For newly installed lighting poles, a comprehensive electrical safety test should be conducted before commissioning to ensure that the installation meets all safety standards.
- Regular Maintenance: After the initial testing, periodic testing should be carried out at least once a year or as recommended by local electrical codes.
- Repairs and Modifications: Whenever any repairs or modifications are made to the lighting pole's electrical system, a new electrical safety test should be performed to ensure that the system is still safe.
Importance of Professional Testing
While some basic visual inspections can be done by in - house staff, it is highly recommended to have professional electrical testing carried out by qualified electricians. Professional electricians have the necessary knowledge, skills, and equipment to perform accurate and comprehensive electrical safety tests. They can also interpret the test results correctly and provide recommendations for any necessary repairs or improvements.
Conclusion
As a lighting pole supplier, we are committed to providing high - quality and safe products to our customers. Testing the electrical safety of lighting poles is a critical process that helps to ensure the safety of the public and the proper functioning of the lighting system. By following the steps and methods outlined in this blog post, we can effectively test the electrical safety of our lighting poles and maintain the highest standards of quality.
If you are interested in purchasing Municipal Light Pole, Smart Light Pole, or exploring different Traffic Signal Pole Types, please feel free to contact us for more information and to discuss your specific requirements. We are always ready to provide you with the best solutions for your lighting needs.
References
- National Electrical Code (NEC)
- IEEE Standards for Electrical Safety in Lighting Systems
- Local Electrical Safety Regulations