

Installing a stainless steel factory chimney in a historical building might seem like a daunting task, but it's totally doable with the right approach. As a supplier of Stainless Steel Factory Chimney, I've got a fair bit of experience in this area, and I'm here to walk you through the process.
Understanding the Historical Building
First things first, you've got to understand the historical building inside out. Historical buildings are special; they've got a lot of historical and cultural value. Before you even think about installing a chimney, you need to get a proper assessment done. This means checking the building's structure, its foundation, and any existing regulations regarding alterations. You don't want to mess up the building's integrity or violate any heritage protection laws.
You might want to hire a professional architect or a historical building expert. They can help you figure out the best location for the chimney and make sure that the installation won't cause any damage to the building. They'll also be able to tell you if there are any specific requirements or restrictions based on the building's historical significance.
Choosing the Right Chimney
When it comes to choosing a chimney for a historical building, there are a few options. Two popular types are the Single Sleeve Chimney and the Multi-sleeve Chimney.
The Single Sleeve Chimney is a simple and cost - effective option. It's great for smaller factories or when you've got limited space. It's also relatively easy to install, which can be a big plus when working on a historical building.
On the other hand, the Multi-sleeve Chimney is more suitable for larger factories or when you need to vent multiple sources. It provides better ventilation and can handle higher volumes of exhaust gases. However, it's a bit more complex to install and might require more space.
Of course, we also offer Stainless Steel Factory Chimney which is a top - notch choice. Stainless steel is durable, corrosion - resistant, and has a sleek look. It can blend in well with the historical building's aesthetics while still providing excellent performance.
Preparing for Installation
Once you've chosen the right chimney, it's time to prepare for the installation. This involves a few key steps.
Site Preparation: Clean up the area where the chimney will be installed. Remove any debris, old structures, or obstacles. Make sure the ground is level and stable. If the chimney is going to be attached to the building, check the wall or structure for any weaknesses or damage. You might need to reinforce it before installation.
Gathering Tools and Materials: You'll need a variety of tools and materials for the installation. This includes things like welding equipment, drills, bolts, and of course, the chimney parts. Make sure you have everything you need before you start the installation process. It's also a good idea to have some spare parts on hand in case something goes wrong.
Safety First: Safety is always a priority. Make sure all the workers involved in the installation are wearing the appropriate safety gear, such as hard hats, safety glasses, and gloves. Set up safety barriers around the installation area to prevent unauthorized access. And if you're working at height, use proper fall protection equipment.
Installation Process
The installation process can be divided into a few main steps.
Base Installation: If the chimney is free - standing, start by installing the base. This is the foundation of the chimney, so it needs to be done correctly. Dig a hole according to the manufacturer's specifications and pour a concrete base. Insert the base plate into the wet concrete and make sure it's level. Let the concrete cure for the recommended time before proceeding.
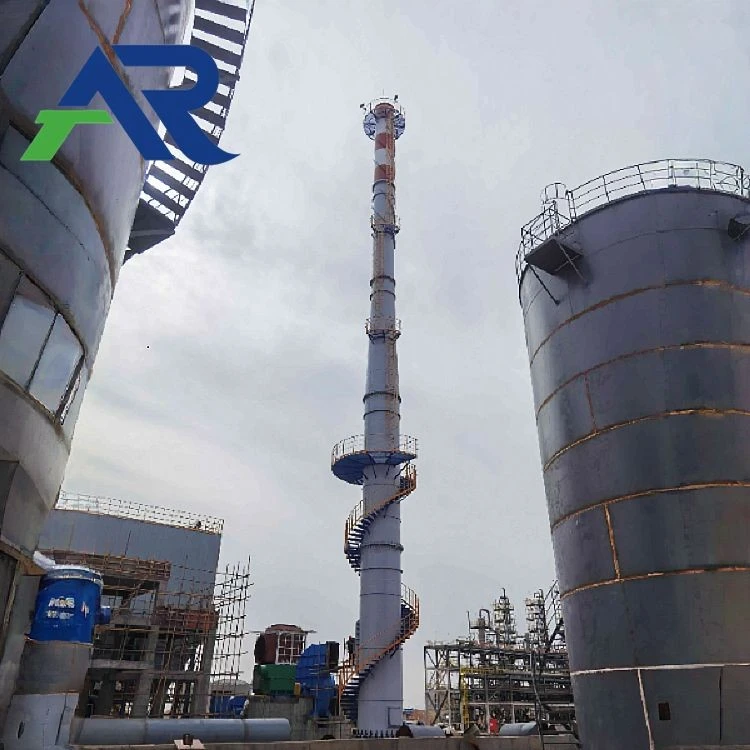
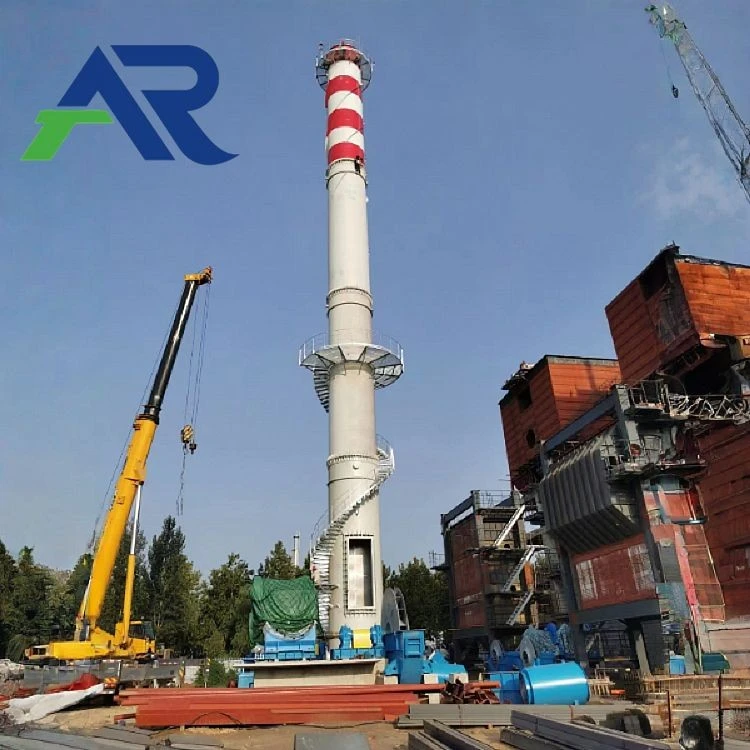
Chimney Assembly: Assemble the chimney sections on the ground. Follow the manufacturer's instructions carefully. Use the appropriate welding or fastening methods to join the sections together. Make sure all the joints are tight and sealed properly to prevent any leaks.
Lifting and Positioning: Once the chimney is assembled, it's time to lift it into place. This can be a tricky step, especially if the chimney is large or heavy. Use a crane or other lifting equipment to carefully lift the chimney and position it on the base or attach it to the building. Make sure it's aligned correctly and secured firmly.
Connecting to the Factory: After the chimney is in place, connect it to the factory's exhaust system. This might involve installing pipes, valves, and other components. Make sure all the connections are airtight and that the exhaust gases can flow smoothly through the chimney.
Testing and Commissioning
Once the installation is complete, it's important to test the chimney.
Leak Testing: Check for any leaks in the chimney joints and connections. You can use a smoke test or a pressure test to detect any leaks. If you find any leaks, seal them immediately.
Performance Testing: Run the factory's equipment and check the chimney's performance. Make sure it's venting the exhaust gases effectively and that there are no issues with back - pressure or poor airflow. Adjust the settings if necessary.
Blending with the Historical Building
One of the challenges of installing a chimney in a historical building is making it blend in with the building's aesthetics. You don't want the chimney to stick out like a sore thumb.
Color and Finish: Choose a color and finish for the chimney that matches or complements the historical building. Stainless steel can be painted or finished in different ways to achieve the desired look.
Design Elements: Consider adding some design elements to the chimney to make it more in - line with the building's style. This could include decorative caps, ornate details, or a shape that mimics the building's architecture.
Maintenance and After - Care
After the chimney is installed and commissioned, regular maintenance is essential.
Inspections: Conduct regular inspections of the chimney to check for any signs of damage, corrosion, or wear. This should be done at least once a year, but more frequently if the chimney is used heavily.
Cleaning: Clean the chimney regularly to remove any soot, debris, or deposits. This will help maintain its performance and prevent blockages.
Repairs: If you notice any damage or issues during the inspections, make the necessary repairs immediately. Don't wait until it becomes a major problem.
Conclusion
Installing a stainless steel factory chimney in a historical building is a complex but rewarding process. By understanding the building, choosing the right chimney, and following the proper installation and maintenance procedures, you can ensure that the chimney performs well and blends in with the historical architecture.
If you're interested in purchasing a Stainless Steel Factory Chimney for your historical building or have any questions about the installation process, feel free to reach out. We're here to help you every step of the way.
References
- Manufacturer's installation guides for stainless steel factory chimneys
- Historical building preservation guidelines and regulations
- Safety standards for chimney installation and maintenance