

As a provider of free standing chimneys, I understand that assembling one can seem like a daunting task. However, with the right guidance and a bit of patience, you can successfully assemble a free standing chimney on your own. In this blog post, I'll walk you through the step-by-step process of assembling a free standing chimney, and provide you with some useful tips along the way.
Step 1: Choose the Right Location
The first step in assembling a free standing chimney is to choose the right location. You need to select a spot that is away from any combustible materials, such as trees, bushes, or buildings. The chimney should also be placed on a flat and stable surface to ensure its stability. Additionally, make sure that the location you choose complies with local building codes and regulations.
Step 2: Gather the Necessary Tools and Materials
Before you start assembling the chimney, you need to gather all the necessary tools and materials. Here's a list of the tools and materials you'll need:
- Free standing chimney kit (this should include all the chimney sections, connectors, and supports)
- Wrenches
- Screwdrivers
- Level
- Measuring tape
- Safety goggles
- Gloves
Step 3: Prepare the Base
Once you have chosen the location and gathered the tools and materials, it's time to prepare the base for the chimney. If your chimney kit comes with a base plate, you need to place it on the chosen location and ensure that it is level. Use a level to check the base plate's horizontal and vertical alignment. If the base plate is not level, you can use shims to adjust it.
Step 4: Assemble the Chimney Sections
Now it's time to assemble the chimney sections. Start by laying out all the chimney sections on the ground in the order they will be installed. This will help you visualize the assembly process and ensure that you have all the necessary parts.
Most free standing chimneys come with pre - fabricated sections that are designed to fit together easily. Connect the chimney sections using the provided connectors. Make sure that the connectors are tightened securely using wrenches or screwdrivers. As you assemble the chimney, use a level to check that each section is straight and vertical.
Step 5: Install the Supports
To ensure the stability of the chimney, you need to install the supports. Most free standing chimney kits come with support brackets or guy wires. If you are using support brackets, attach them to the chimney sections at the recommended intervals. Make sure that the brackets are attached securely to the chimney and the base.
If you are using guy wires, you need to anchor them to the ground using stakes or other suitable anchors. The guy wires should be tightened evenly to prevent the chimney from swaying.
Step 6: Install the Cap
Once the chimney is assembled and the supports are installed, it's time to install the cap. The cap helps to prevent rain, debris, and animals from entering the chimney. Place the cap on top of the chimney and secure it using the provided fasteners.
Step 7: Check for Leaks and Stability
After the chimney is fully assembled, it's important to check for leaks and stability. Inspect all the connections between the chimney sections and the supports to make sure that there are no gaps or loose fittings. You can use a flashlight to check for any signs of leaks inside the chimney.
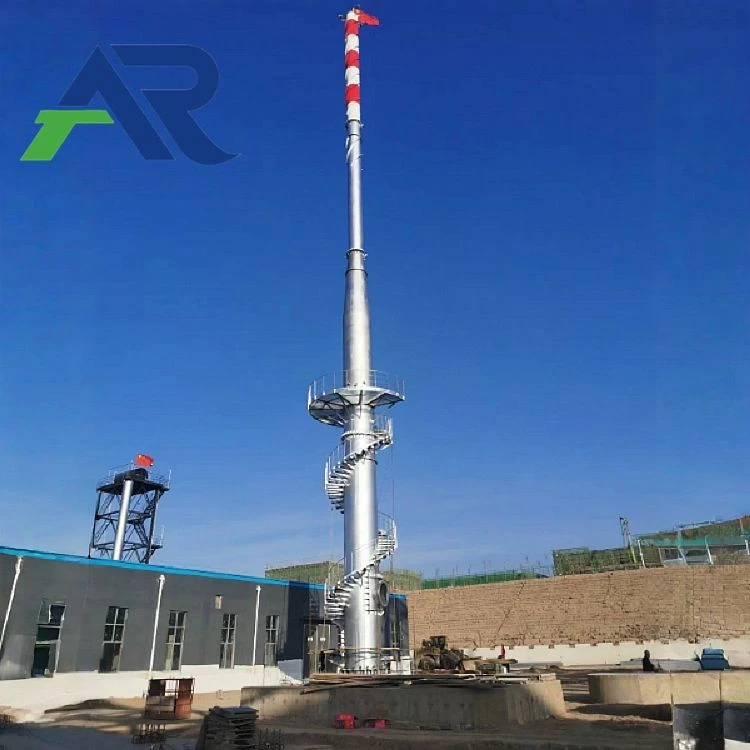
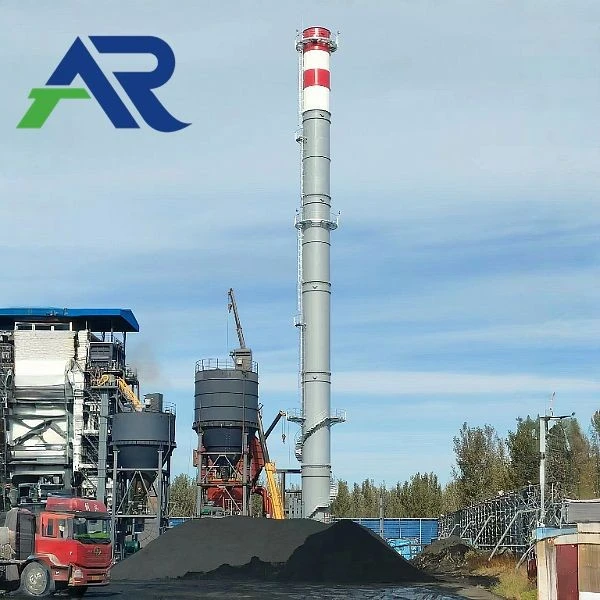
Also, give the chimney a gentle shake to check its stability. If the chimney wobbles or moves significantly, you may need to adjust the supports or tighten the connections.
Tips for Assembling a Free Standing Chimney
- Read the Instructions Carefully: Always read the manufacturer's instructions that come with your chimney kit. The instructions will provide you with specific information about the assembly process, including any special requirements or precautions.
- Work with a Partner: Assembling a free standing chimney can be a two - person job, especially when dealing with taller chimneys. Having a partner can make the process safer and more efficient.
- Wear Safety Gear: Don't forget to wear safety goggles and gloves to protect yourself from sharp edges and debris during the assembly process.
Different Types of Free Standing Chimneys
We offer a variety of free standing chimneys to meet different needs. For instance, our Single Sleeve Chimney is a great option for those looking for a simple and cost - effective solution. It is easy to assemble and suitable for small - scale applications.
If you need a more durable and high - performance chimney, our Stainless Steel Factory Chimney is an excellent choice. Made from high - quality stainless steel, it offers superior corrosion resistance and longevity.
For applications that require multiple flues or complex configurations, our Multi - sleeve Chimney is the ideal solution. It allows for the simultaneous venting of multiple appliances.
Conclusion
Assembling a free standing chimney is a manageable task if you follow the right steps and take the necessary precautions. By choosing the right location, gathering the right tools and materials, and following the manufacturer's instructions, you can have a functional and safe chimney installed in no time.
If you are interested in purchasing a free standing chimney for your home or business, we are here to help. Our team of experts can provide you with more information about our products and assist you with the selection process. Whether you need a single - sleeve chimney for a small fireplace or a multi - sleeve chimney for a large industrial application, we have the right solution for you.
Contact us today to start the procurement discussion. We look forward to working with you to meet your chimney needs.
References
- "Chimney Installation Guide" - Generic chimney installation manual
- "Safety Standards for Free Standing Chimneys" - Industry safety regulations document